Disclaimer: This post contains affiliate links. If you choose to make a purchase through them, Libby and Labels may receive a small commission.
Are you moving into a new house and wanting to line your shelves and drawers with liners before unpacking? Have you recently repainted cabinets and now you want to protect the paint from scratches and stains? Are you freshening things up around your house and looking for an easier way to keep drawers and cabinets clean?
Whatever your needs might be, installing shelf liner is a great way to start fresh after a move, protect your cabinets, and keep things clean.
Here’s a step by step guide to measuring, cutting, and installing shelf liner in your cabinets and drawers.
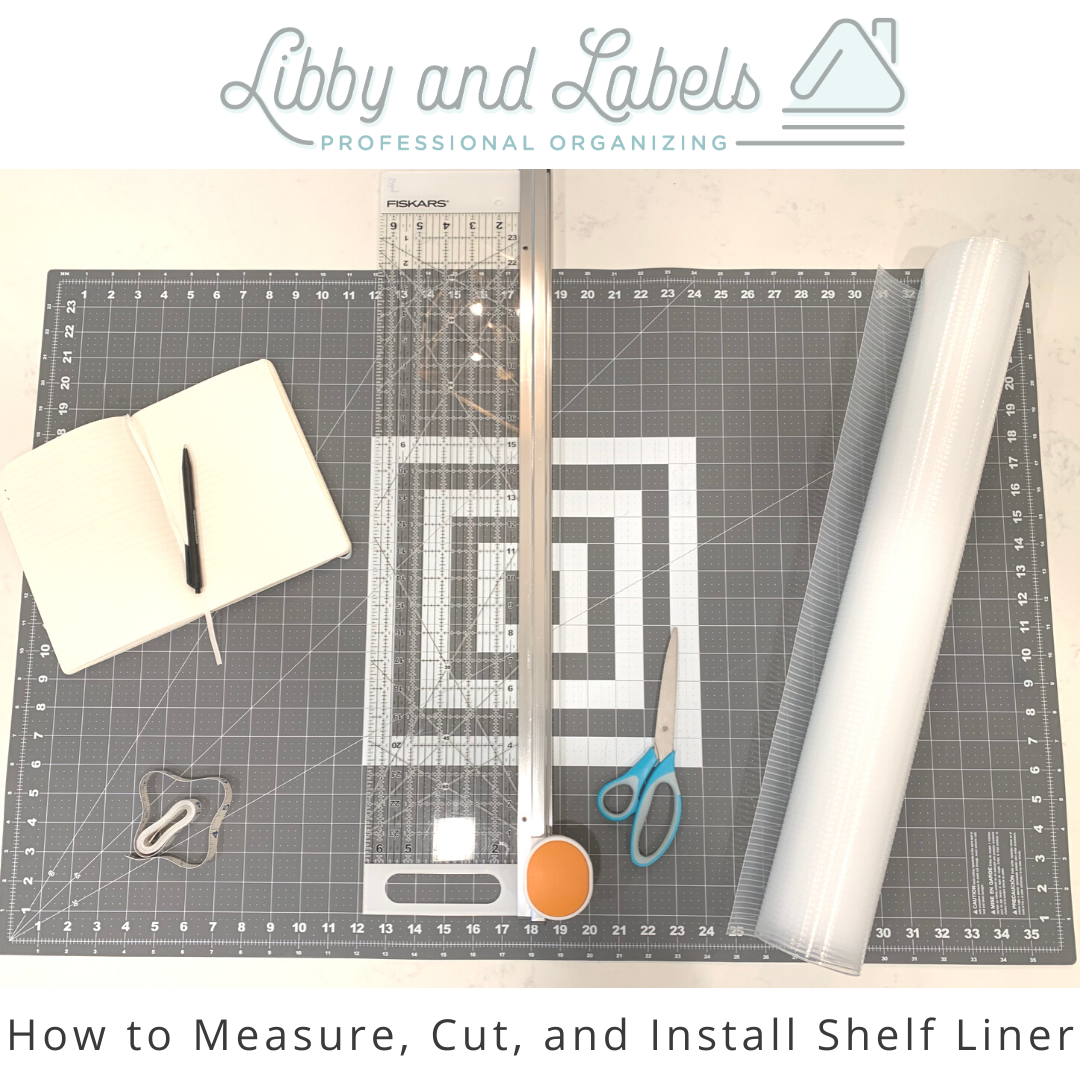
Supplies Needed:
Straight edge or ruler
Rotary cutter (or a rotary cutter and ruler combo like the one used in the video)
Pen and paper
Shelf liner (12” for shallow spaces and 24” for deeper drawers and cabinets)
Flat surface - table or countertop
Step 1: measure the space
Measure the length first and then the width/depth using a soft tape measure for more accurate measurements, and note dimensions to the quarter inch.
Step 2: record dimensions
Be sure to record your measurements in a consistent manner. For example, always record the length first if you plan to cut it first in order to avoid confusion. To keep everything together, I use this notebook for recording all measurements.
Step 3: roll out the shelf liner on the cutting mat
Roll out the liner with the smooth side up, and align the edges of the liner with the cutting mat. If needed, trim off the edge to start with a clean, straight line as the manufactured edge is sometimes crooked. I prefer this clear ribbed shelf liner as it’s easy to cut and clean.
Step 4: measure and mark where to cut
Small pen tick marks come off easily with the rub of a finger, so there’s no need to worry about markings staying on the liner once you’ve finished cutting.
Step 5: cut length and width with rotary cutter and straight edge
I like to keep the direction of the ridged lines consistent in all the drawers and cabinets, so I cut the length first. Then I simply use scissors with the ridges as my guide to cut the liner to fit the width/depth of the space.
Step 6: roll in opposite direction to help flatten
The liner will flatten out with time, especially after placing items on top of it, but it helps to give it a quick roll in the opposite direction.
Step 7: empty out the shelf
Remove any items from the shelf or drawer before placing the liner.
Step 8: wipe out the shelf
Use a rag to wipe out the shelf and ensure it is free of dust and crumbs.
Step 9: place the liner smooth side down
Placing the liner with ribbed side up gives the items a slight grip to help hold them in place.
Step 10: replace items
Replace the dishes or items back on the lined shelf in the same way or in a new organized fashion.